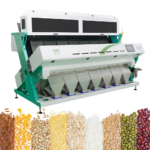
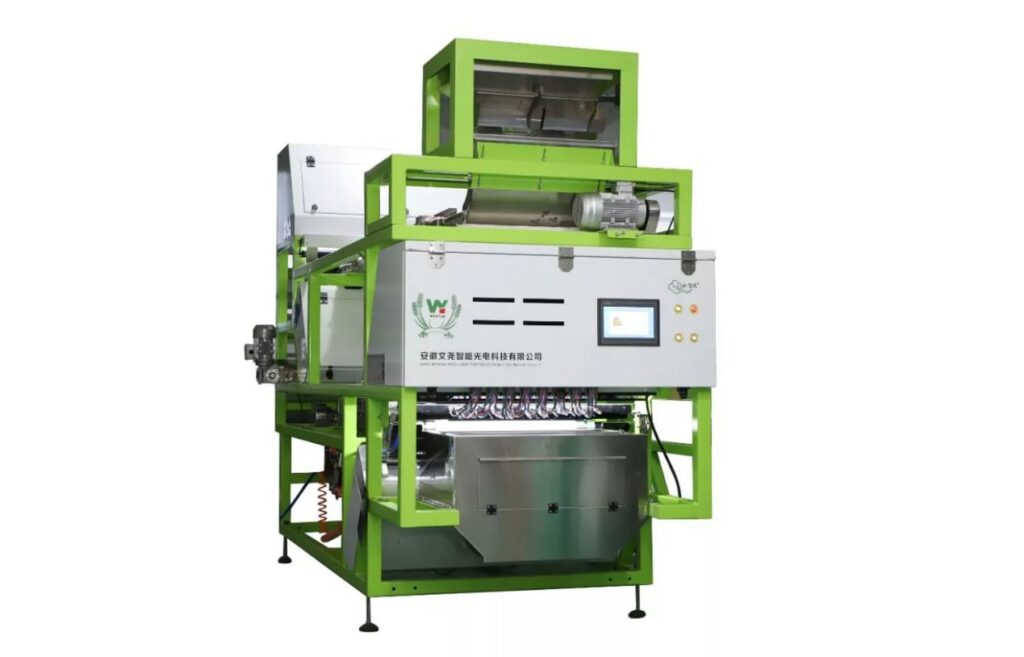
Welcome to our comprehensive guide on using the intelligent color sorting function in our MD machine. This blog post will walk you through the step-by-step process to effectively utilize the AI-powered sorting capabilities, ensuring optimal performance and accurate sorting results.
Table of Contents
ToggleStep-by-Step Guide to Using the Intelligent Sorting Function
1. Accessing the Factory Interface
First of all, you should go to the factory interface. In the factory interface, you may need a password. You can ask our after-sales engineer or sales team for the password.
2. Navigating to the Photo Capturing Interface
Once logged in, press the Image button. You will see the photo capturing interface, which is essential for setting up the intelligent sorting function.
3. Setting the Trigger Value
Press Set a Trigger Value. The trigger value depends on the material size:
• For coins, use a trigger value of 20.
• If you use a bigger size material, set a bigger trigger value accordingly.
After setting the trigger value, press Get to begin capturing samples.
4. Capturing and Marking Sample Photos
Move the sample along the shoot to capture a photo. Repeat this process to collect many photos. You will see multiple photos displayed in the interface.
• Press the Mark menu to manually mark the photos.
• Choose the right photo by zooming in and marking it.
• For example, mark good materials by pressing Good.
• Press Bad to mark unwanted materials. These marked areas will turn red.
5. Adding Samples and Analyzing Data
After marking the materials:
• Press Add Sample Off.
• You will see statistics like Good Spot 5000 and Sample Files 900.
• Go to the Calculation Interface and press AI Calculator to analyze the data.
6. Applying AI Settings to Cameras
Once the analysis is complete:
• Apply the settings to the desired camera(s). For instance:
• First Camera: Front
• Second Camera: Rear
This means:
• The first camera group handles primary sorting.
• The second camera group handles secondary sorting.
7. Adjusting Accuracy and Sensitivity
Return to the Accuracy Interface to modify the size and spots:
• For coins, the size is usually eight.
• The purity of the spot is thirteen.
Use the Simulator to visualize the sorting:
• Black areas will be marked.
• Good coins will remain unmarked.
If the results are not satisfactory:
• Go back to the Accuracy Interface.
• Modify the accuracy to achieve higher precision.
8. Testing and Final Adjustments
• Go to the Home Page and press Wrong to test the material.
• Review the results:
• If the result is good, no further changes are needed.
• If the result is not satisfactory, return to the interface to modify Sensitivity, Accuracy, Size, and Purity.
• Repeat the testing process until you achieve the best results.
Conclusion
Using the intelligent color sorting function in your MD machine involves a series of methodical steps, from accessing the factory interface to fine-tuning the sorting parameters. By following this guide, you can effectively utilize the AI capabilities to ensure precise and efficient sorting, enhancing the overall quality of your production process.
Frequently Asked Questions (FAQs)
1. Why do I need to set a trigger value, and how do I determine the right value for different materials?
The trigger value is crucial for accurately detecting and sorting materials based on their size. For example, for coins, a trigger value of 20 is recommended. If you are sorting larger materials, you should set a higher trigger value accordingly. Adjusting the trigger value ensures that the machine accurately identifies and sorts the materials based on their specific dimensions.
2. What should I do if the sorting results are not accurate after the initial setup?
If the sorting results are not satisfactory, you should go back to the Accuracy Interface and modify the Sensitivity, Accuracy, Size, and Purity settings. Use the simulator to visualize the changes and test the results by pressing Wrong and testing with material samples. Continue adjusting these parameters and retesting until you achieve the desired sorting accuracy.
3. How can I ensure that the intelligent sorting function works consistently over time?
To maintain consistent performance, regularly check and recalibrate the trigger values, sensitivity, and accuracy settings as needed. Ensure that the machine is clean and free from dust or debris that could affect the sensors and cameras. Additionally, periodically review the sorting results and make adjustments based on any changes in the raw materials or sorting requirements.